Effortlessly, rebuild or reinstall your OS in just a few easy steps
Looking forward to installing or reinstalling your desired operating system to keep your server up-to-date with the latest setup that meets your needs.
Here’s a simple procedure to help you through the process!
STEP 1: Log in to Your Client Area
– Use your registered credentials to find yourself on the Client Area Dashboard.
– Your main hub for managing all your services & settings.

STEP 2: Access Your Active Services
– Look for the “Your Active Product/Services” section.
– Find the specific service you want to configure.
– Click on the “Manage” button for product settings.

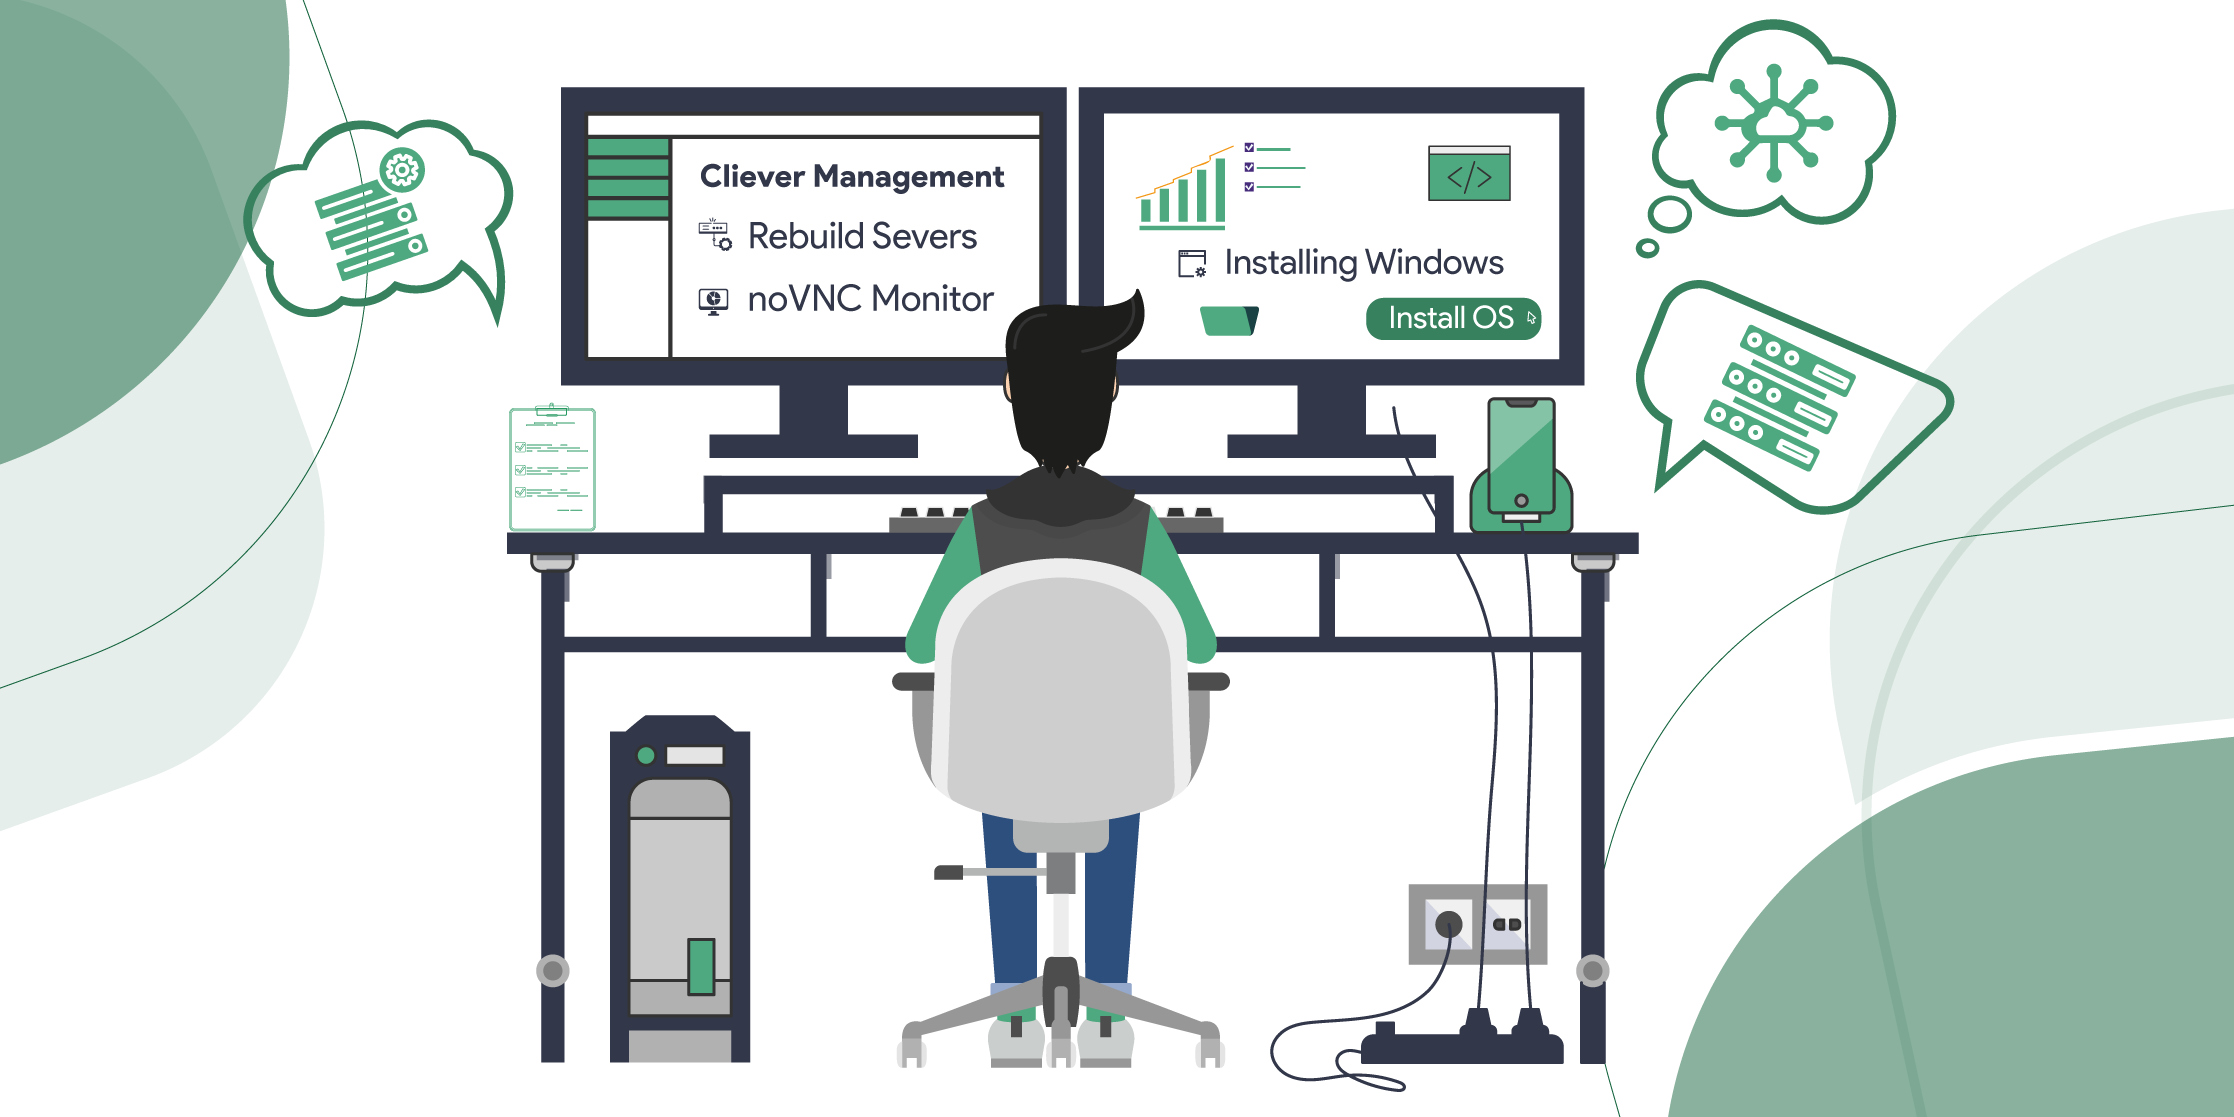
STEP 3: Rebuild Your Server
– Click “Rebuild Server” to initiate your OS installation.

– Choose your preferred OS template from the list.
– Enter a Hostname. (It’s optional.)
– Manually set a username & password (OR)
– Opt for the auto-generate feature for secure credentials.

– Click “Confirm” to start the process.

STEP 4: Monitor Installation in Real Time
– Use the noVNC KVM Console to observe your server’s installation unfold in real time.
– This tool gives you a real-time visual overview of the OS setup.


Why tackle the Installation Alone?
No worries! If you cannot manage the OS installation or reinstallation on your own, our expert team at ServerBasket is here to help. Just submit a request through your client area or contact our support team, and we will take care of everything for you. We will set up the right OS template and monitor the process, ensuring that your server is configured efficiently, professionally, and securely.
Your convenience is our top priority!
OS Already Installed?
Great! If your operating system is already set up, you are just one step ahead.
Let’s dive into “STEP 4” where you can access the noVNC KVM Console to observe, configure, or manage your server in real time.

We’ll guide you through the process!