How to Set up an MX Entry in cPanel

Follow the following steps to set up an MX Entry in cPanel.
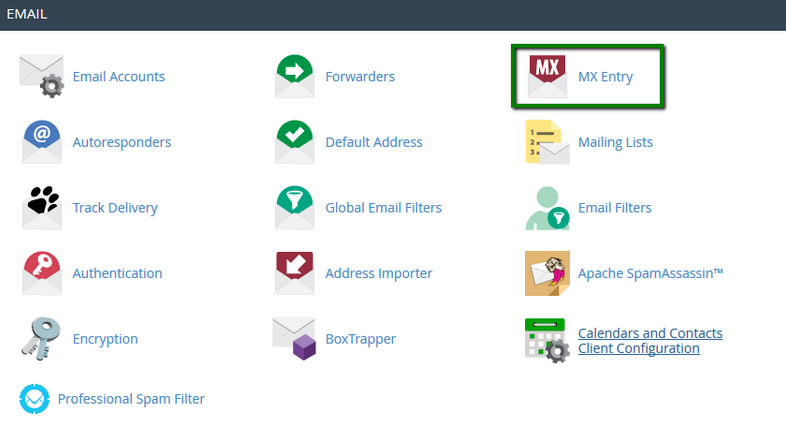
- Go to the “Mail” section of cPanel, click on the “MX Entry” icon in cPanel.
- Now, select a particular domain name from the drop-down list, to which MX records to be added.
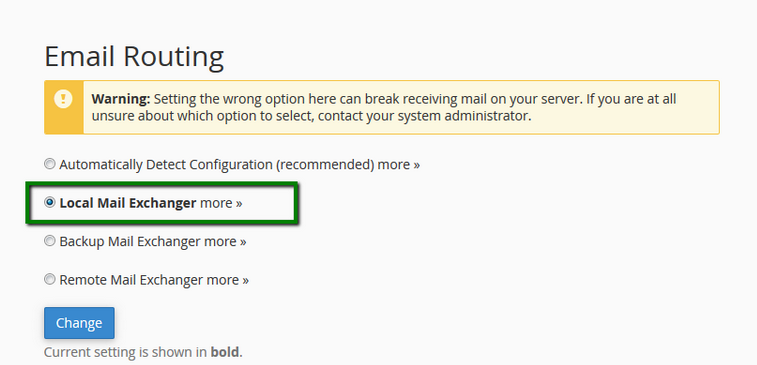
- Go to “Add New Record” section and set the highest priority “0” for the new MX entry.
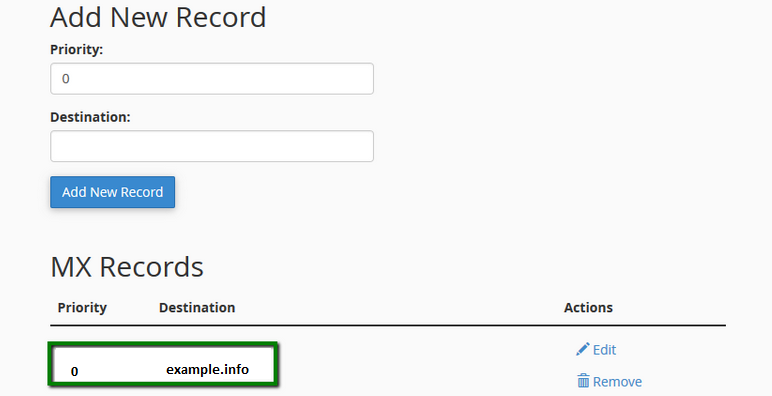
- Now, type the hostname or fully qualified domain name of the new email exchanger in the “Destination” text box and no IP addresses can’t be mentioned here.
- In order to save the settings, you need to Click again on the “Add New Record” button.
Delete MX Record Through cPanel
To delete an MX entry, please go through the following steps:
Click on the “Delete” button placed near the appropriate MX entry and again confirm the deletion by clicking on “Delete” button again. NOTE- Only one MX record could be created and if you want to add new MX record, you need to delete the existing MX record.