How To Enable Spam Protection In cPanel

To Enable Spam protection in cPanel through BoxTrapper icon.
- Login to cPanel.
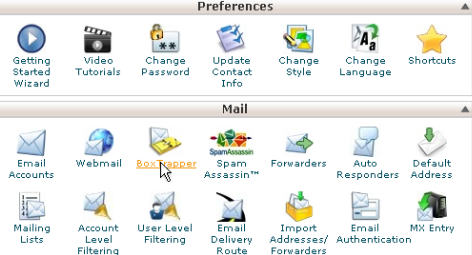
- Click the BoxTrapper icon.
- In order to activate BoxTrapper for spam protection for an email address, click on “Manage” and click “Enable” button.
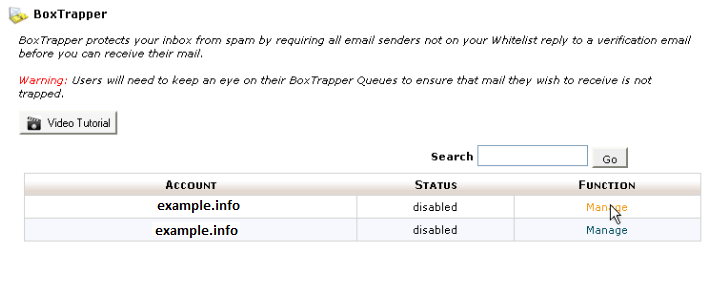
- BoxTrapper is now activated or enabled for this email id and Click “Go Back” to go back the main screen.
- If you wish to configure your BoxTrapper settings, now, click on the “Configure Settings” link.
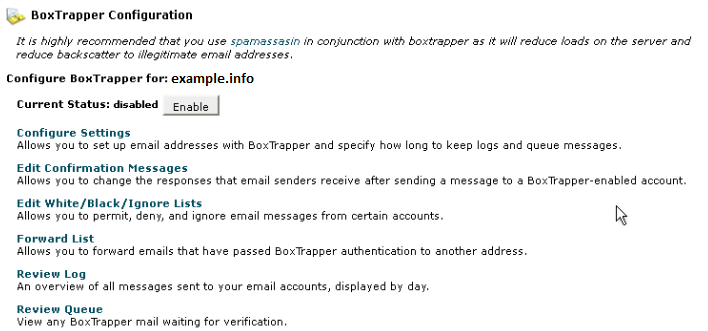
- Various options are available here like auto-whitelisting for email ids.
- Click on “Edit Confirmation Messages” to set up standard messages for a blacklisted email address.
- Click [“Edit White/ Black/Ignore Lists”] link and you can add email ids to Blacklist, Whitelist, and Ignore list.
- After setting of Boxtrapper, a huge volume of spams will be reduced.
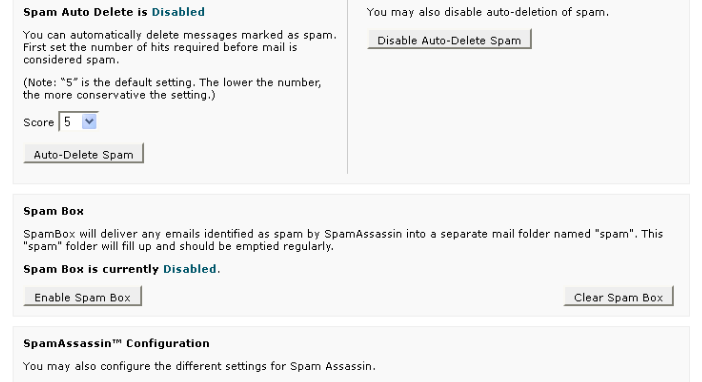
Spam Can Be Reduced By Using SpamAssassin
- Click on SpamAssassin or (Apache SpamAssassin) icon to enable it and click on “Go Back”.
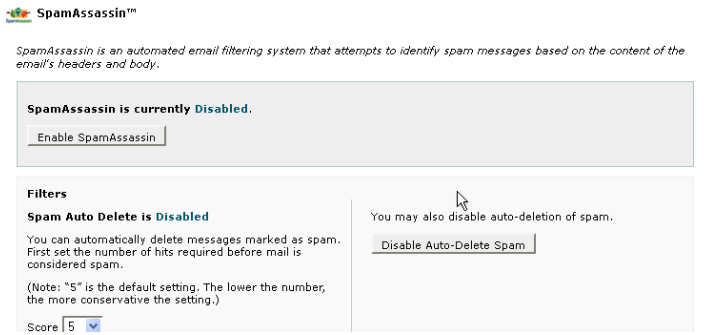
- To “Configure” the SpamAssassin and add email ids to blacklist/whitelist/unknown.
Spam Protection Through Global Email Filter In cPanel
- Go to Email section of cPanel and click on Global Email Filters and Create a New Filter.

- Type name of your email filter in the Filter Name – text box.

- Go to the Rule section.
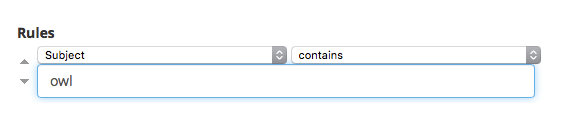
- Select Spam Bar from the first menu.
- Select contains from the second menu as shown in above image.
- Type the spam score in the text box with +++++ characters and 5 pulses are maximum as per Apache SpamAssassin.
- Apache SpamAssassin controls the matching of a spamming score as per set by Global email filter section.